Roasted Garlic Cheesy Bread
If you were arguing with your mates over a few cheeky beverages as to the origin of garlic bread, you now have the answer. Garlic bread stems from bruschetta, which appeared in Italy around the 15th century, and can be traced back to Ancient Rome. Sorry to French legends out there, but the Italian's won this round.
The beauty with garlic bread is that it can be eaten as a meal by itself or as a side with a saucy pasta. C'mon - don't tell me you haven't dipped garlic bread in the sauce!
MOVE OVER DOMINOES!
Homemade garlic bread has arrived.
Roasted Garlic Cheese Bread | AUSSIEQ BBQ
Rated 4.0 stars by 2 users
Category
Sides
Cuisine
Italian
Author:
John From AUSSIEQ BBQ
Servings
6
Prep Time
15 minutes
Cook Time
60 minutes
Calories
287
There is a few ways to skin a cat here. You could replicate the Domino's way and slice your baguette vertically so you have lots of slices, but I think cutting horizontally so you have large pieces is the way to go. Who is only going to eat one baby sized piece of garlic bread anyway?
** garlic bread macros and tips for young players are down the bottom of recipe**

Ingredients
-
3 heads of fresh garlic
-
2 tbsp olive oil
-
3 tsp Oz Dirt seasoning
-
250gm unsalted butter
-
1/2 cup Costco Mexican cheese blend
-
1/4 cup grated parmesan
-
1 tsp chili flakes
-
1/2 tsp cracked black pepper
-
1/2 tsp salt
-
1/2 tsp Chippy chicken salt
-
3 tbsp fresh chopped parsley
-
1 cheap baguette
Directions
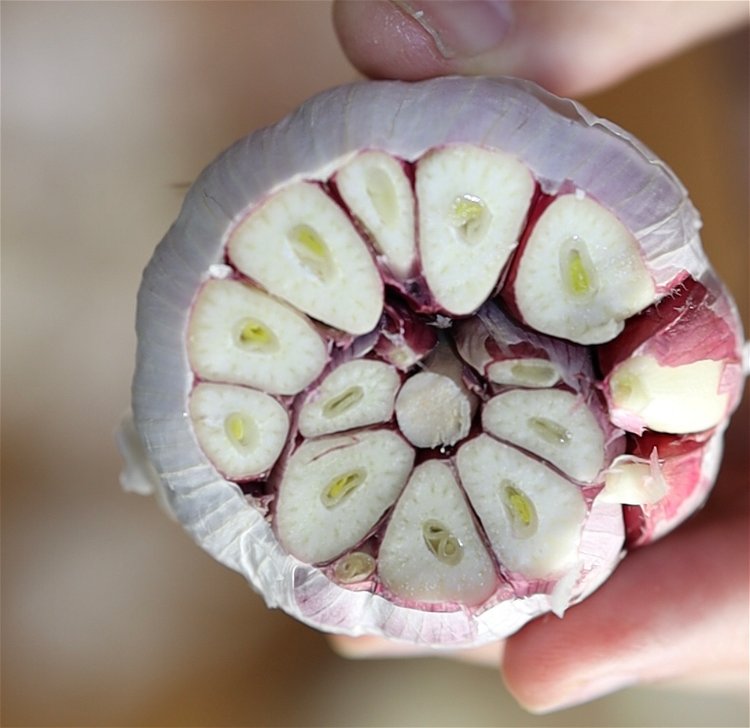
First thing to do is get your garlic roasting as this makes the world of difference. Slice the top off your garlic to expose the bulbs.
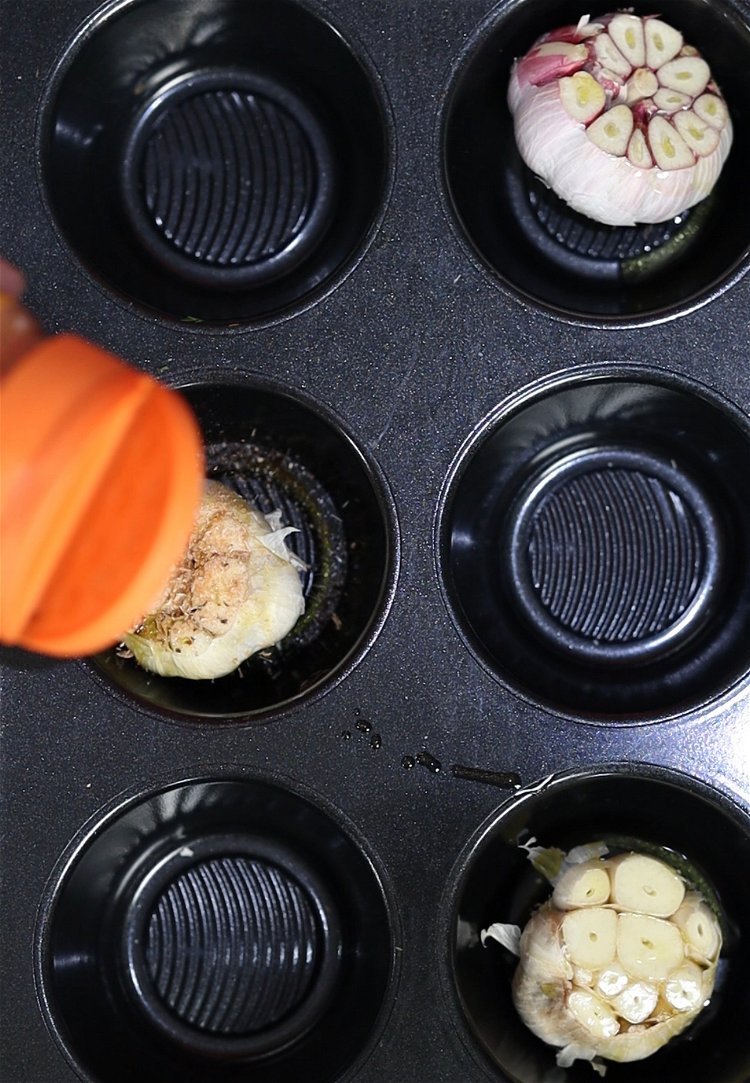
Place the heads of garlic bread into your muffin tray. Drizzle olive oil on each head with a lashing of Oz Dirt seasoning for the ultimate flavour cheat code.
Cover with baking paper, then a layer of alfoil and secure tightly. This will allow you to roast the garlic and steam at the same time.
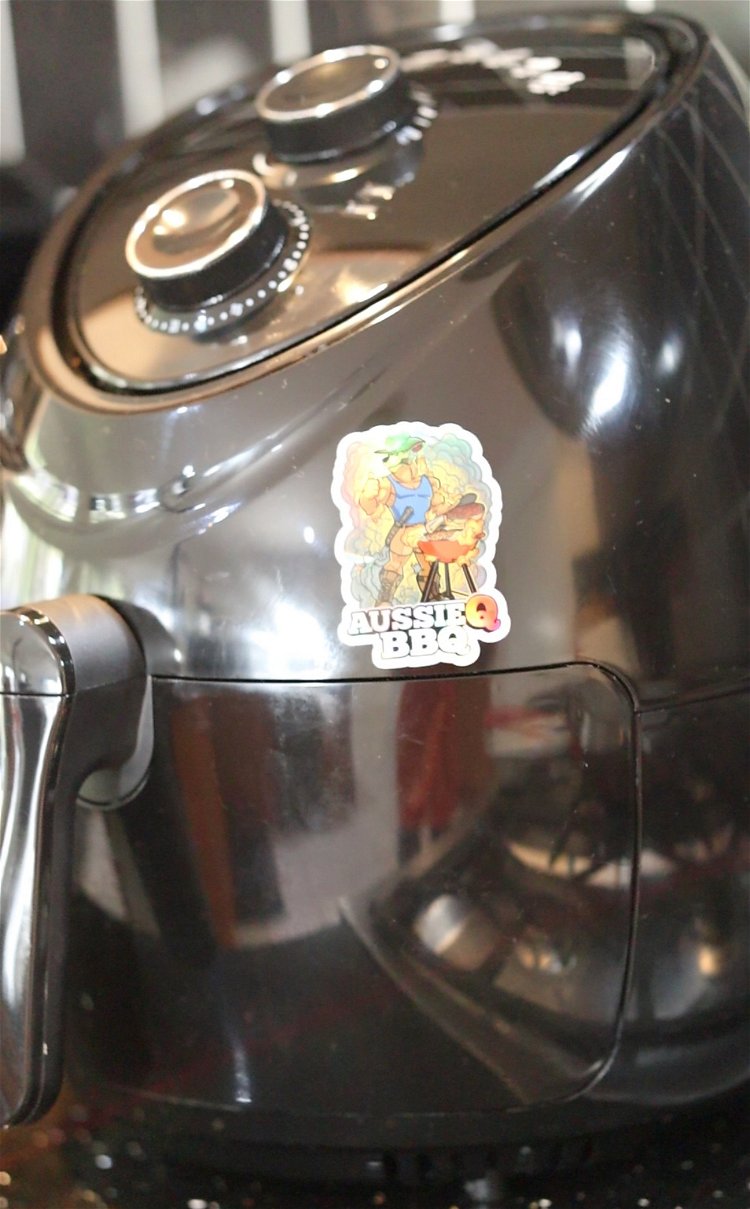
Place in your BBQ, oven or airfryer at 200C/392F for 30-45 mins. Once you can push a skewer through the garlic and it has the resistance of softened butter you are done.
If using a Weber kettle, you want to place approx 1/2 chimney of lit charcoal on one side and the garlic offset to that, so you have indirect cooking.
Whilst the garlic is roasting away in your cooker of choice, in a bowl mix the butter, cheese, chilli flakes, salt, pepper, chicken salt and parsley until thoroughly blended.
Blend in your roasted garlic and try and resist the urge to eat the garlic butter straight from the bowl!
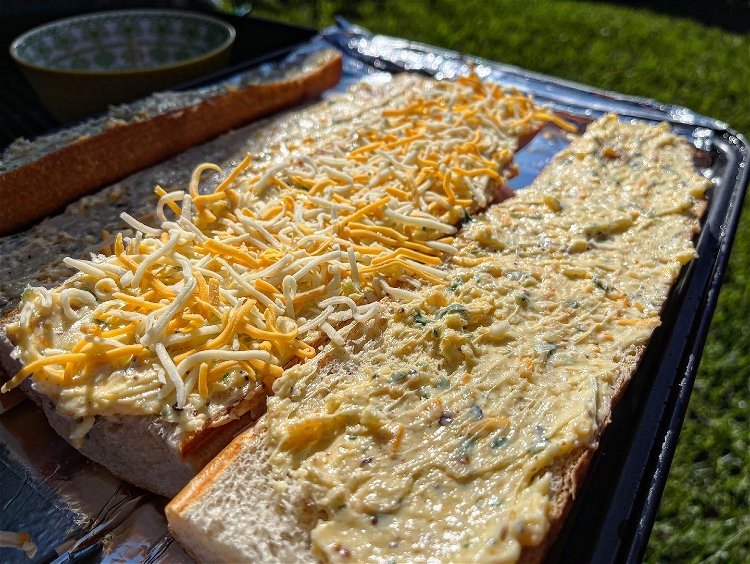
Spread a thick coating of the butter mixture on to your sliced baguettes, and if you really love a cheese kick add an extra sprinkle of cheese over the top.
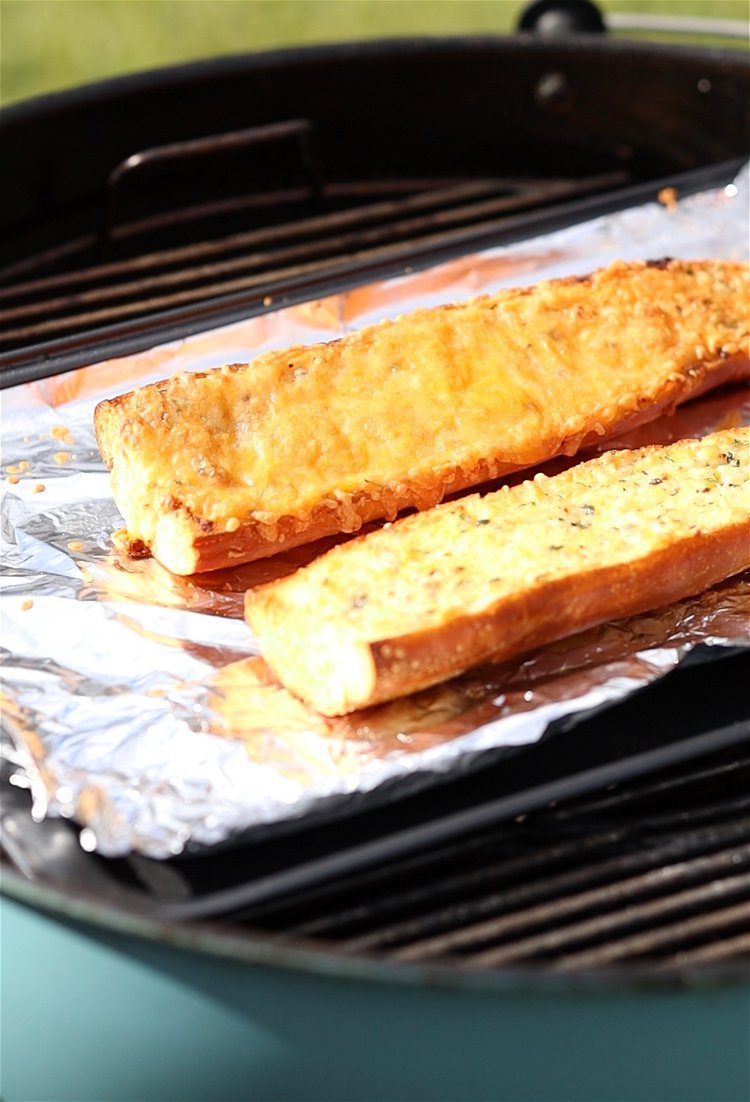
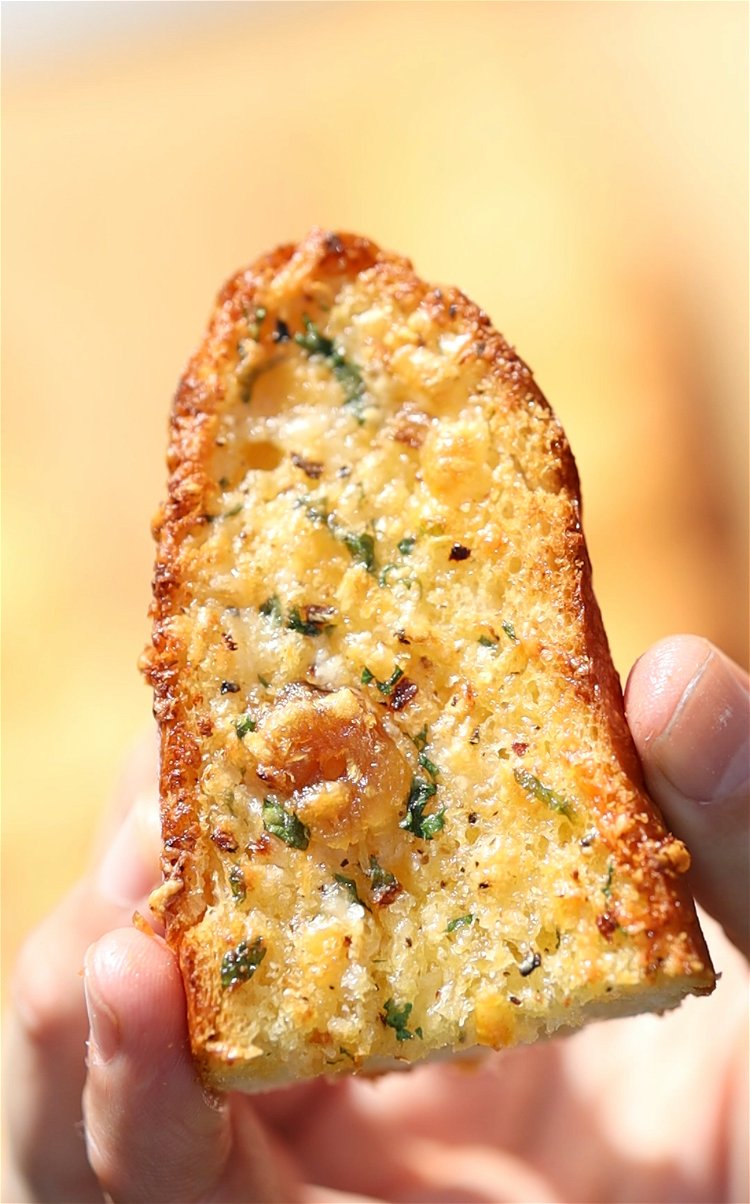
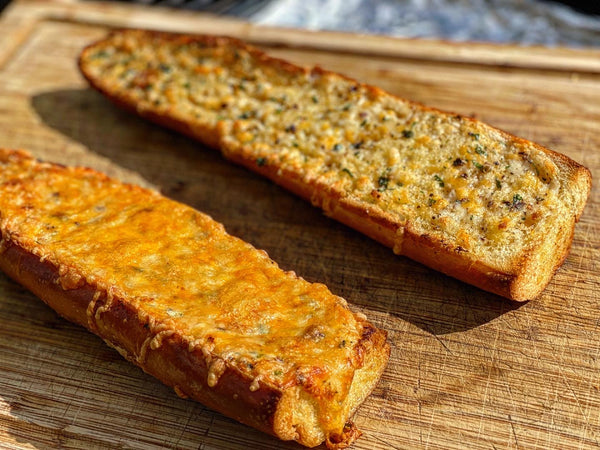
Cook at 200C/392F for 25-30 mins or until the edges are golden and crispy but the innards are still soft. You want the balance of crispy and pillowy soft.
This stunning piece of work is what garlic bread nirvana looks like!
Recipe Video
Recipe Note
Temperature: When cooking home-made garlic bread, you should cook at 200C or 392F which gives you the balance of caramelising the garlic an cooking with efficiency
Type of bread: I think the cheap baguettes from your local supermarket work best, but feel free to use an amazing sourdough stick from your French bakery!
Garlic: You can step a step and utilise naked garlic, but it can be harsh and doesn't have that stunningly mellow, roasted goodness of cooked garlic. Don't forget that if you can see the stem forming in the centre of each bulb, the garlic can be a little bitter. Add a touch of sugar to counteract this
Swap out parsley?: If you do not like parlsey, why not try dill or corriander for something different?
Nutrition
Nutrition
- Serving Size
- 1 serving
- per serving
- Calories
- 287
- Carbs
- 25 grams
- 8%
- Fat
- 18 grams
- 4%
- Saturated Fat
- 11 grams
- 28%
- Cholesterol
- 44 milligrams
- 15%
- Sodium
- 502 milligrams
- 22%


1 comment
Amazing depth of flavour!
The roasted garlic was wonderful in the mixture.